Introduction to Tire-Changing Tools
Changing a car tire is a fundamental skill every driver should master, but it requires the right tools to do it safely and efficiently. Flat tires can happen anywhere—at home, on the highway, or during a road trip—and having the proper equipment can mean the difference between a quick fix and a costly tow. In this article, we’ll explore the essential tools for changing a tire, their functions, how to use them, and tips for maintenance. Whether you’re a beginner or an experienced driver, understanding these tools will empower you to handle emergencies with confidence. We’ll also cover optional extras, safety considerations, and where to source quality gear. By the end, you’ll be equipped to assemble or upgrade your roadside kit.
Tire changes typically take 15-30 minutes with the right tools, but improper equipment can lead to accidents or damage. Let’s break down the must-haves and best practices.
Core Tools in a Standard Car Kit
Most vehicles come with a basic emergency kit stored in the trunk. These are the foundational tools you’ll need for a standard tire change. Familiarize yourself with them to avoid surprises.
- Spare Tire: This is the replacement wheel and tire. Check its condition regularly—ensure it’s properly inflated (typically 60 PSI for donuts) and free of damage. Some cars have full-size spares, while others use compact “donut” tires limited to 50 mph and 50 miles. Always verify compatibility with your vehicle’s lug pattern.
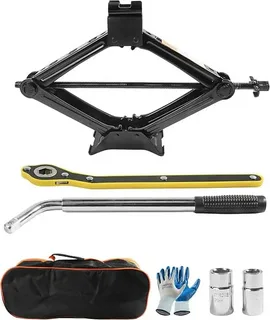
- Car Jack: A hydraulic or scissor jack lifts the vehicle. Position it under designated jack points on the frame (check your manual). Never substitute with improvised items like cinder blocks, as they can fail. Jacks are rated for weight—ensure yours matches your car’s curb weight (e.g., 2-3 tons for SUVs).
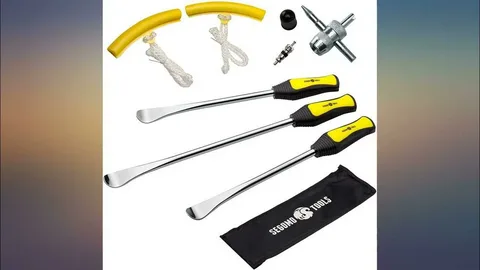
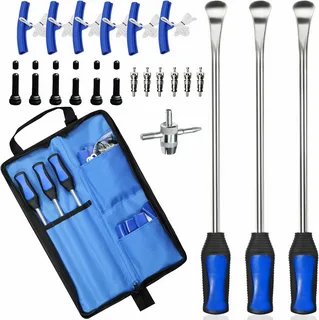
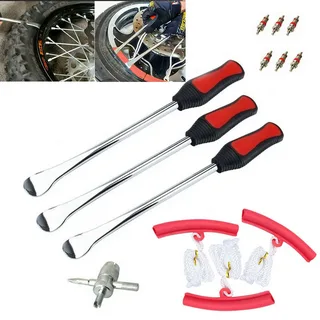
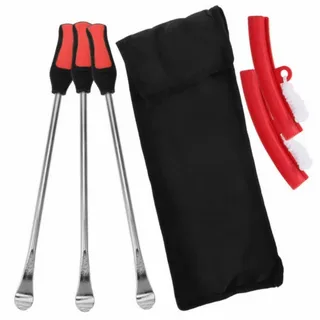
- Lug Wrench (Tire Iron): This L-shaped tool loosens and tightens lug nuts. It has multiple socket sizes to fit various nuts. Use it in a crisscross pattern to prevent warping the rotor. For locking lug nuts, you’ll need a special adapter key, often included in premium kits.
- Wheel Chocks or Wedges: These prevent the car from rolling. Place them behind the wheels not being lifted. If missing, use rocks or bricks, but they’re not ideal for stability.
These tools are usually bundled in a kit costing $20-50 at auto stores. Test them periodically to ensure they work.
Additional Recommended Tools for Enhanced Safety
While not always included, these extras make the process safer and easier, especially in challenging conditions.
- Tire Pressure Gauge: A must for checking the spare’s inflation. Digital gauges ($5-10) are accurate and easy to read. Under-inflated spares can fail, so always measure before driving.
- Flashlight or Work Light: Crucial for nighttime changes. LED options with magnetic bases ($10-20) clip to the car for hands-free use. Battery life is key—opt for rechargeable models.
- Protective Gloves: Leather or nitrile gloves ($5-15) shield hands from grease, dirt, and sharp edges. They’re inexpensive but prevent injuries and keep tools clean.
- Reflective Warning Devices: Flares, triangles, or LED beacons ($10-30) alert traffic. Place them 100-300 feet behind your vehicle. In some states, they’re legally required.
- Tire Plug Kit or Sealant: For minor punctures, inject sealant ($10-20) to temporarily fix the tire without removal. It’s not a permanent solution but can get you to a shop.
- Multi-Tool or Screwdriver Set: Useful for removing hubcaps or prying stuck parts. A compact Leatherman-style tool ($20-40) combines pliers, knives, and drivers.
Invest in a complete roadside emergency kit ($50-100) that includes these for peace of mind.
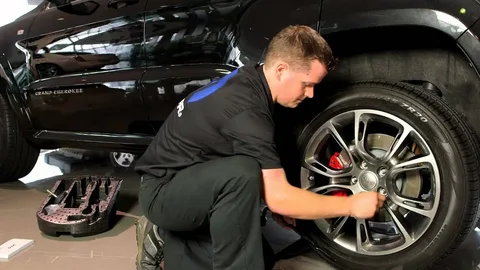
How to Use Tire-Changing Tools Step-by-Step
Proper usage ensures safety. Here’s a quick guide integrated with tool functions:
- Preparation: Park safely, engage the brake, and loosen lug nuts (1/2 turn) with the lug wrench while the tire is grounded. Chock the opposite wheels.
- Jacking: Position the jack under the frame point and raise slowly. Use the flashlight if visibility is low.
- Removal: Remove lug nuts fully, pull off the flat tire. Gloves protect your hands.
- Installation: Mount the spare, hand-tighten nuts in a star pattern, then lower and fully tighten with the wrench.
- Finishing: Stow tools and drive cautiously. Use the gauge to check pressure later.
Practice in daylight to build familiarity.
Safety Considerations with Tools
Tools can be hazardous if misused. Prioritize these tips:
- Stability: Ensure the jack is on firm ground; avoid slopes. Never crawl under a jacked car.
- Traffic Hazards: Use reflectors and gloves for visibility. Work away from roads if possible.
- Tool Integrity: Inspect for rust or damage. Replace worn jacks or wrenches immediately.
- Weather: In rain or cold, tools can slip—use gloves and work carefully.
- Legal Aspects: Some tools (e.g., flares) are required by law in certain areas.
If conditions are unsafe, call for help rather than risk injury.
Maintenance and Storage of Tire Tools
Tools last longer with care. Follow these habits:
- Inspection Routine: Check monthly for corrosion, especially on metal parts. Clean with a rag after use.
- Lubrication: Apply WD-40 to jack mechanisms and wrench pivots to prevent seizing.
- Storage Tips: Keep in a dry trunk compartment. Use a toolbox to organize and protect from elements.
- Replacement Schedule: Jacks and wrenches every 5-7 years; spares annually if not used.
- Upgrades: For heavy vehicles, switch to floor jacks ($50-100) for better stability.
Proper maintenance prevents failures during emergencies.
Where to Buy and What to Look For
Quality matters. Source from reputable places:
- Auto Parts Stores: Brands like Harbor Freight or AutoZone offer kits. Look for “universal” fits.
- Online Retailers: Amazon has reviews; search for “car emergency tool kit.” Prices start at $30.
- Dealerships: OEM tools ensure fit, but they’re pricier ($100+).
- Key Features: Choose rust-resistant materials, ergonomic designs, and compatibility with your car (e.g., lug nut size).
Read reviews and check warranties for reliability.
Common Tool-Related Issues and Fixes
Even good tools can have problems. Troubleshoot these:
- Stuck Lug Nuts: Use penetrating oil and the wrench with leverage. Avoid impact tools to prevent damage.
- Jack Failure: If it won’t lift, check for air leaks or debris. Replace if bent.
- Flat Spare: Inflate with a portable compressor ($20-50) or at a gas station.
- Missing Tools: Borrow from friends or buy a loaner kit for trips.
- Wear and Tear: Bent wrenches or rusted jacks need immediate replacement.
Addressing issues early keeps you prepared.
Advanced Tools for Frequent Travelers
For those who drive often, consider these upgrades:
- Portable Air Compressor: Inflates tires on the go ($30-60). Essential for long trips.
- Hydraulic Jack: Easier for heavy loads, with a higher weight rating.
- Smart Tools: Bluetooth jacks that alert if unstable ($100+).
- Tire Repair Kit: Includes plugs and patches for DIY fixes.
These enhance convenience but aren’t essential for basics.
Conclusion: Equip Yourself for Roadside Confidence
Having the right tools for changing a tire transforms a potential disaster into a manageable task. From the core jack and wrench to safety extras like gloves and flares, each item plays a vital role. Regular maintenance, proper usage, and smart sourcing ensure reliability. Invest in a quality kit today—it’s an affordable insurance policy. Remember, practice makes perfect, so familiarize yourself with these tools. Drive safely, stay prepared, and enjoy worry-free journeys. If you need more tips, check our full tire-changing guide!

Leave a Reply